10 Foam Roller Exercises To Level Up Your Muscle Recovery

January 24, 2024 - Updated March 10, 2026
As much as we LOVE to see you smashing your workouts and fitness goals, it brings us just as much joy to see you taking care of your body by prioritising muscle recovery. Most of us have a love-hate relationship with foam rollers, but they're one of the most affordable, accessible recovery tools out there.
By slowly rolling a foam roller down your muscles and using your body weight to apply or release pressure, you can break up knots, stiffness, and tension that can form in your muscles and tissue. A basic foam roller looks like a smooth cylinder tube, but you can also get textured rollers and balls with bumps and spikes to make your recovery sessions even spicier.
The beauty of foam rolling is that you can fit it into any schedule super easily. You could add a few minutes of foam rolling to your warm-up to release tight muscles before you start, reduce post-workout aches (aka DOMS) by rolling out your muscles after exercise, or as a standalone recovery session while you catch up on your favourite show.
Here are some of our go-to foam roller exercises - just remember to roll slowly to reap the benefits. Whenever you roll over a point in the muscle that feels extra tender, either pause and hold that position until the pressure significantly reduces, or perform small back-and-forth rolling motions over the targeted spot. Like any sports massage, discomfort is normal when foam rolling, but sharp pain is not, and it is always worth seeing a specialist if it continues.
Best foam roller exercises for legs and lower body
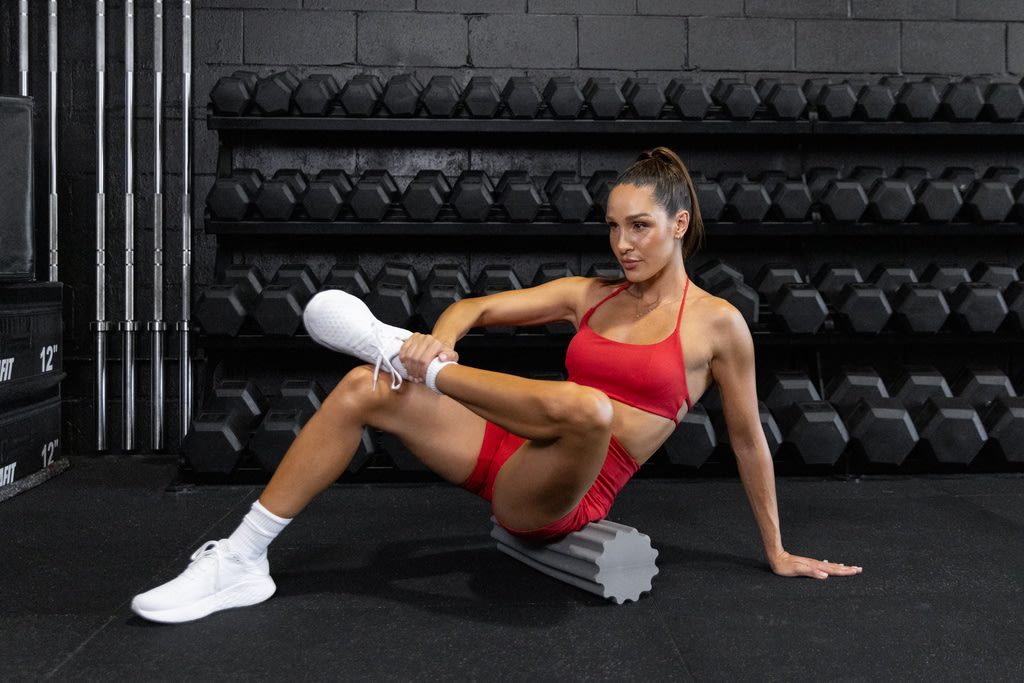
Hamstrings
Position the foam roller horizontally in front of you, extending both legs and placing them on top of the roller with your left ankle over right and the roller pressing into the middle of your hamstring (the underside of your thigh).
Lift your glutes off the floor and slow roll the foam roller along the length of your hamstring.
Continue to roll down the length of your hamstring, pausing on trigger points as needed before repeating on the other side.
Calves
Position the foam roller horizontally in front of you, extending both legs and placing them on top of the roller with your left ankle over your right with the roller pressing into your right calf muscle below your knee.
Lift your body off the floor and slowly roll the foam roller along the length of your calf.
Continue to roll down the length of your calf, pausing on trigger points as needed before repeating on the other side.
Quads
Kneeling on your yoga mat, position the foam roller horizontally in front of you, then place both hands on the floor slightly further than shoulder width apart in front of the foam roller.
Lower your hips and straighten your legs until the foam roller is pressing into your quads (the front of your thighs).
Slowly roll the foam roller along the length of your quads, pausing on any trigger points if needed.
Tensor Fasciae Latae (aka IT band)
Position the foam roller parallel to the left side of your body and place your left hand on the floor on the outer side of the roller.
Extend your left leg as shown, and allow the foam roller to press into your left TFL (the muscle directly below your hip).
Slowly roll the foam roller along the length of your TFL, pausing on trigger points as needed before repeating on the other side.
Lower back
Sitting on the floor with your knees bent and feet flat on the floor, position your foam roller directly behind you.
Lie back onto the foam roller so that it is gently resting just above your hips. Engage your core by pulling your belly button towards your spine and angling your torso slightly to one side. This is your starting position.
Slowly roll the foam roller along your lower back, pausing on trigger points as needed.
Even though your core is braced, ensure you are breathing deeply throughout.
Adductors or inner thighs
With a foam roller directly by your side, begin face down on a yoga mat, placing both forearms on the mat slightly further than shoulder-width apart.
Bring your right knee up towards the edge of the mat in line with your hip. Position the foam roller between your leg and the mat. This is your starting position.
Slowly roll the foam roller along the length of your adductors, pausing on trigger points as needed and ensuring you continue to breathe throughout before repeating on the other side.
Best foam roller exercises for upper body
Lats
Sitting on your mat with your knees bent and feet on the floor, position the foam roller horizontally behind you.
Lay back onto the foam roller so that it is gently resting on your mid-back directly below your shoulder blades.
Slowly lift your hips off the floor and twist your upper body over to your right side to allow the foam roller to press into your right lat (the muscle running along the outside of your back).
Slowly roll the foam roller along your right lat until it is halfway down your sides/back, pausing on trigger points as needed before repeating on the other side.
Chest and pecs
From a kneeling position, position the foam roller horizontally in front of you.
Lay down on your stomach with your left arm extended straight over the foam roller and your right hand on the floor in front of the roller, allowing the foam roller to press into your left pectoral (chest) muscle.
Rotate your body so that you are almost lying on your side and use your right hand and the angle of your body to determine the pressure as you roll over your chest muscles slowly.
Upper back
Sitting on the floor with your knees bent and feet flat on the floor, position the foam roller horizontally behind you.
Lay back onto the foam roller so that it rests just below your shoulder blades. Brace your core by drawing your belly button towards your spine and lift your hips slightly off the floor. This is your starting position.
Slowly roll the foam roller along your upper back, pausing on trigger points as needed and breathing deeply throughout.
Traps
Sitting on the floor with your knees bent and feet flat on the floor, position the foam roller horizontally behind you.
Lay back onto the foam roller so that your upper back is resting on it.
Twist your upper body slightly to the right so that the foam roller is pressing into your right trapezius (muscle to the right of your spine). This may require you to lift your hips slightly off of the floor.
Slowly roll the foam roller along the length of your trapezius until you reach the bottom of your shoulder blade, pausing on trigger points as needed before switching sides.
Feeling tight during your workouts or everyday life? We know the feeling SO well, and foam rolling is such an easy way to get some relief and make sure you’re feeling your best in every training session. Get started today. You might be cursing us during it, but we promise you’ll be thanking us after.
Erin is a writer and editor at Sweat with years of experience in women's publishing, the fitness industry, media and tech. She's passionate about the power of movement, and you can often find her on a yoga mat, a hike, a dance floor, in the ocean or the gym.
* Disclaimer: This blog post is not intended to replace the advice of a medical professional. The above information should not be used to diagnose, treat, or prevent any disease or medical condition. Please consult your doctor before making any changes to your diet, sleep methods, daily activity, or fitness routine. Sweat assumes no responsibility for any personal injury or damage sustained by any recommendations, opinions, or advice given in this article.
Fitness